How to Replace a Dryer Belt
When starting a load of laundry and you notice your dryer drum isn’t spinning, those clothes certainly will not be drying correctly. Then, if it makes a banging noise or a sharp sound, you may need to replace your dryer belt. Atlanta Appliance Services will go over how to replace a dryer belt in this helpful article.
That said, it may seem like too much of a task to change out your dryer belt. But this DIY may be easier than you think. If you have a screwdriver, a putty knife, and a little bit of time on your hands, you can get this repair fixed with no problem. Read along to learn more about how to replace your dryer belt. Then if you prefer to have a professional complete your appliance repairs, that is what we are here for.
Step-by-Step: How to Replace a Dryer Belt
Follow along here to learn the DIY steps to replace a dryer belt.
Step 1 | Unplug Your Machine
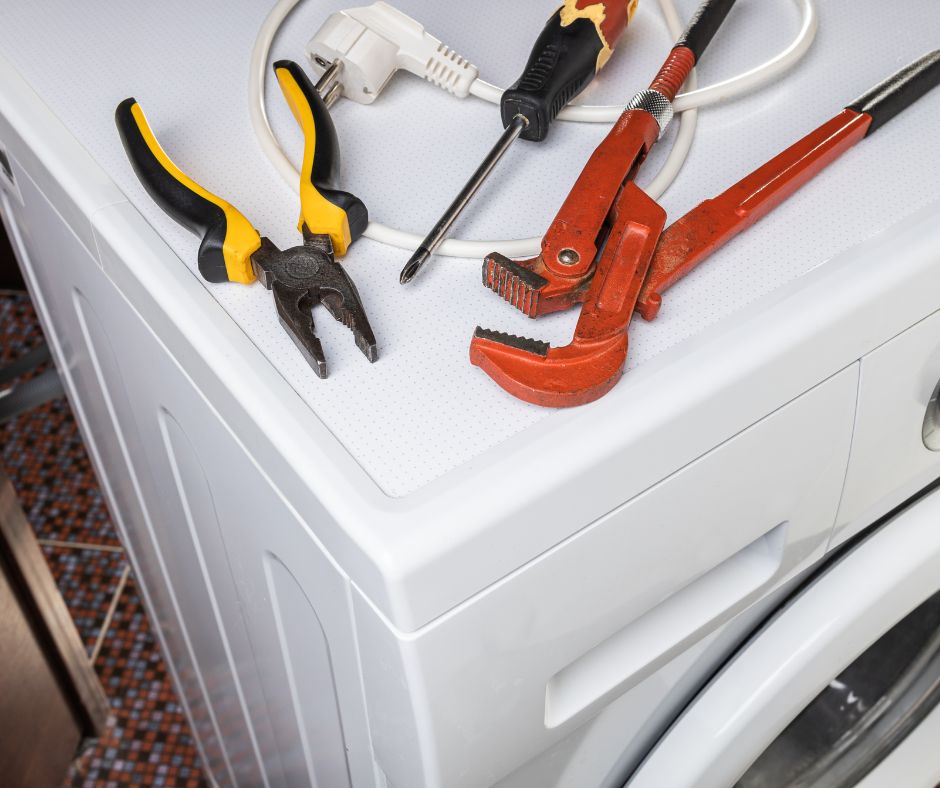
The first thing you want to do is unplug your dryer, and if you have a gas dryer, go ahead and close the valve and disconnect that as well. We definitely don’t want you to shock yourself.
The next thing to do is to disconnect the aluminum hose from the dryer. If the dryer runs on gas, close the valve that’s on top of the pipes that goes into your wall. Then use channel locks or a wrench to loosen the nut that connects the gas line to open it.
When disconnecting the dryer, be aware of the following conditions:
- You may experience a faint gas smell from the residue that has built up in your gas line. As long as the valve is off, there should be nothing to worry about.
- Put a rag in the pipe and the opening of the gas line to block off the gas smell if it starts to bother you. And if it is too much to handle altogether, it’s best to stop and let someone help you by calling a professional.

Step 2 | Slide Your Dryer Out
Once the dryer is disconnected and safe, slide it from the area it is in because you will need room to work. You surely don’t want to force it or scrape up the floors. Just grab your dryer by the sides and gently wiggle it out of the spot. Continue to repeat that movement if you can’t pull it straight out.
Once it is pulled out, ensure you have room to work around the dryer. Now is also a great time to clean out any lint that has gotten trapped in your duct and behind the dryer.
Step 3 | Unscrew and Remove the Lint Filter
Now that you have room to work, remove the screws in the filter slot and put them aside.
When you start to disassemble your dryer, there are several screws in the filter area that lock the top panel in its place. You’ll want to use a screwdriver to take out the two screws on the lint filter. Then set them aside in a safe spot.
Here are some tips for this process:
- Skip the removal of the filter if it isn’t located on top of your dryer.
- If you have one, use a magnetic screwdriver in case the screws fall down into the filter because there isn’t an easy way to get them back.
- In this step, you are going to remove many screws. It helps if you get a plastic baggie to keep the screws in and label them. This makes installing them later a lot easier.
Please take pictures and keep careful notes on the steps you are taking to get it back in working condition when finished.
Step 4 | Look for Fasteners Near the Seams
Each dryer is a little bit different, but on every model, you will need to look for clips and screws.
There is no one way manufacturers configure a dryer assembly. Look in the front, the back, and the sides of the washer to see if there are clips, screws, or buttons that you can see where the panels meet. If you locate some there, remove the clips, remove the screws, and press the buttons to try and remove the panels.
If you do not see the clips, try the following:
- If you don’t see any fasteners, you may have to pop off the top of the panel first to reveal the fasteners.
- Are you still needing help locating the fasteners? Go online and search for your dryer model to find instructions on how to remove the panels.
Step 5 | Taking the Top Panel Off
In this step, you will carefully use the putty knife at the seam of the dryer.
Then, with the dryer facing forward, insert your putty knife or a metal file under the seam at the top of the dryer. Move it from side to side until you find the two clips that hold the top panel in place. Pry open the panel with one hand and press on the clips with your knife until they unlock.
Then proceed in this way:
- Once you get the panel unlocked, lift it off of the dryer. Pull the panel out before you slide it up.
- Suppose you cannot altogether remove the panel, prop it up and tie it to a cabinet, fixture, or the back of the unit using a wire or a heavy string.
- Once the top panel is upright, you should be able to see if your dryer belt is still attached. It is a black band that runs around the middle of the drum.
If you do not see the belt, it is probably broken and sitting at the bottom of the dryer.

Step 6 | Disconnect the Electrical Harness
Start by looking at the interior rim of the dryer and disconnect any wires.
- Do not cut any wires. Only remove the harnesses.
- Take a picture of the wire connections to make sure you put them back together correctly when you are done.
Step 7 | Disassembling the Front Panel
Once you’ve reached the fasteners, unscrew them and lift out the front panel.
Then look along the inside of the dryer for screws, fasteners, and clips. Remove those to unlock the front panel. Next, you’ll want to brace the drum with one hand and gently slide the panel out with the other.
- If something seems to be holding the panel down, look at the bottom of your dryer and remove any additional fasteners. It’s important to make sure you got all of them.
- If there are any hex nuts, you may need to use a nut driver attachment to remove them.
Remember, you can always stop anytime and call for appliance repair. Once you have located the old dryer belt, it is time to run to the store for a replacement belt.
Step 8 | Buy a Replacement Belt
You need the model number printed on the old dryer belt when replacing the belt.
With the dryer drum fully exposed, you should see that the belt has a groove in the middle of the drum. If you don’t see it, look under the drum for the broken belt. Look carefully at each part of the belt for the serial number. Purchase the matching belt at your local store or online.
Here are some things to know:
- Replacing the dryer belt should cost at most $5 to $20.
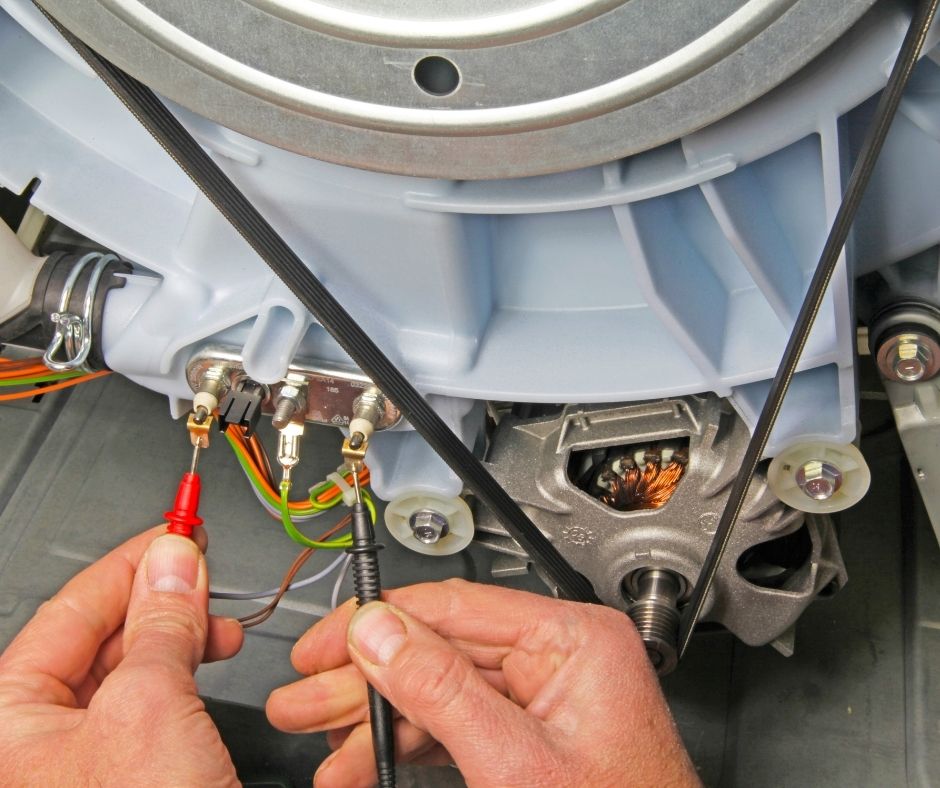
- The dryer belt wraps around two pulleys, an idler, and a motor. This connects it to the frame.
- If your dryer belt did break, the idler pulley will most likely be loose and free.
Furthermore, you may have more damage than initially expected if there are any loose parts. This might be another time you consider calling for expert assistance.
Step 9 | Wrapping the New Belt
When your new belt arrives, it is time to hang it around the drum. You should have plenty of slack in the new belt, but that is normal.
- Tip 1: It helps if you prop up the drum with a small box so it will sit the same way as it did in the machine.
- Tip 2: The grooved and sticky sides typically point down at the drum.
Step 10 | Attach the Belt to the Motor
In this step, you will wrap the new belt around the grooves of the spinning part of the motor. The motor is located in the large assembly at the bottom of the machine. Locate the spinning pulley on the front of the motor and then wrap the belt around the grooved center.
The belt will fit loosely and will be tight once it’s attached to the idler pulley and the drum is raised up to the front panel.
Step 11 | Connect Belt to Idler Pulley
The first thing to do is to wrap the belt tightly around the pulley on the opposite side of the motor. Here is what we mean.
The belt will wrap around the idler pulley and on the side furthest from the drum. Gently pull the belt around the inside of the idler pulley.
Next, spin the drum carefully by hand to make sure the belt is on securely and the way it’s supposed to be.
Note: The pulley should be on the left side of the motor.

How to Replace a Dryer Belt: Wrapping Up
Now that you have taken apart your dryer and installed a new belt, it’s time to put your dryer back together the way you took it apart. Remember you took pictures and labeled the parts and screws to make this part easier.
First, slide the clips back on and install the screws that were removed.
Then, slide your dryer back into place and give it a test spin. If anything sounds off, stop the dryer and call a professional at Atlanta Appliance Services for further examination.
Helpful Tips to Keep in Mind
- It’s time to replace your dryer belt if your drum won’t spin or the dryer makes a ton of noise when you turn it on the dryer.
- When it comes time to disassemble the dryer, it can vary slightly from model to model, so look for fasteners and screws around the seams where the front and top panels of the dryer meet.
- Once you get your new belt, slide it around the two pulleys at the bottom of the dryer in a zigzag motion.
Oh, and good luck with your DIY belt replacement. As always, the trained professionals at Atlanta Appliance Services are just a phone call away.


