How to DIY Dishwasher Repair
Your dishwasher is a true kitchen workhorse, tirelessly cleaning your dirty dishes day in and day out.
However, like any appliance, it may encounter issues from time to time. When your dishwasher starts acting up, you might be tempted to call a professional repair service, but before you do, consider the cost savings and satisfaction that come with tackling the problem yourself.
This comprehensive guide will walk you through the steps of DIY dishwasher repair, from diagnosing common issues to making the necessary fixes.
Diagnosing the Problem Before Any DIY Dishwasher Repair
Before you dive into repairing your dishwasher, it’s essential to diagnose the issue accurately. Start by observing the dishwasher’s behavior and asking yourself a few questions:
-
Is the dishwasher not turning on at all?
- If the dishwasher isn’t powering on, the problem may be electrical or related to the control panel.
-
Is the dishwasher not filling with water or not draining properly?
- Water-related issues might stem from a clogged or faulty inlet valve, while draining problems can often be traced back to a blocked filter or a malfunctioning pump.
-
Is the dishwasher making unusual noises?
- Unusual noises during the wash cycle could indicate a problem with the motor or circulation pump.
-
Is the dishwasher leaking?
- Leaks can result from a variety of issues, such as a damaged door seal or a cracked hose.
-
Is the dishwasher not cleaning dishes thoroughly?
- Inadequate cleaning performance could be due to problems with spray arms, filters, or the detergent dispenser.
Once you’ve pinpointed the problem, you can move on to the DIY repair steps specific to that issue.
Tools and Safety Precautions
Before you start any DIY repair project, it’s crucial to gather the necessary tools and take safety precautions. Here’s a list of commonly used tools and safety gear for dishwasher repair:
Tools:
- Screwdrivers (Phillips and flat-head)
- Pliers
- Wrenches
- Multimeter (for electrical testing)
- Pipe wrench (for plumbing-related repairs)
- Nut driver set
- Torx screwdrivers (for some dishwasher models)
- Wire strippers and electrical tape (for electrical repairs)
Safety Precautions:
- Turn Off Power: Before attempting any repair involving electrical components, unplug the dishwasher from the power source or shut off the circuit breaker that supplies power to it.
- Wear Safety Gear: Depending on the repair, wear safety glasses, gloves, and closed-toe shoes to protect yourself from potential hazards.
- Work in a Well-Ventilated Area: If you’re dealing with chemical cleaners or performing any repair that could release harmful fumes, make sure you’re in a properly ventilated space.
- Have a Fire Extinguisher Nearby: While rare, electrical or heating element issues could potentially start a fire. Having a fire extinguisher nearby is a wise precaution.
- Read the Manual: Always consult your dishwasher’s user manual for specific guidance on repairs, as different models may have unique features or components.
Common DIY Dishwasher Repairs
1. Dishwasher Won’t Turn On
a. Check the Power Supply:
- Make sure the dishwasher is plugged in and that the circuit breaker is not tripped. Test the outlet with another appliance to confirm it’s functioning.
b. Door Switch Test:
- Dishwashers typically have a door switch that prevents operation when the door is open. If this switch is faulty, it may prevent the dishwasher from turning on. Use a multimeter to test the switch’s continuity and replace it if necessary.
2. Water Filling or Draining Issues
a. Inlet Valve Replacement:
- If the dishwasher is not filling with water or is filling too slowly, the inlet valve might be clogged or faulty. Turn off the water supply, disconnect the inlet hose, and replace the valve if needed.
b. Check the Drain Hose:
- If the dishwasher isn’t draining correctly, check the drain hose for kinks or clogs. Remove any obstructions and ensure the hose is properly connected.
c. Clean the Filter:
- Many dishwashers have filters that can become clogged with food particles and debris. Remove and clean the filter regularly to ensure proper drainage.
3. Unusual Noises During Operation
a. Inspect the Pump and Motor:
- Grinding or rattling noises may indicate an issue with the dishwasher’s pump or motor. Remove the lower access panel and inspect these components for debris or damage.
b. Check the Spray Arms:
- A loose or damaged spray arm can produce unusual noises during operation. Ensure the spray arms are securely attached and not obstructed by dishes.
4. Dishwasher Leaks
a. Inspect the Door Seal:
- A damaged or worn-out door seal can allow water to leak out during the wash cycle. Replace the seal if it shows signs of wear or damage.
b. Check Hose Connections:
- Inspect all hose connections for tightness and signs of leaks. Replace any damaged hoses or hose clamps.
c. Check the Float Switch:
- The float switch prevents overfilling by signaling the dishwasher to stop filling with water. If it’s stuck or malfunctioning, it can lead to leaks. Check and clean the float switch if necessary.
5. Poor Cleaning Performance
a. Clean the Spray Arms:
- Clogged spray arms can result in inadequate cleaning. Remove the spray arms and clean out any debris or mineral deposits.
b. Check the Detergent Dispenser:
- If the detergent isn’t being dispensed correctly, the dishes won’t get clean. Inspect the detergent dispenser for clogs or defects and replace it if needed.
6. Dishwasher Not Draining Completely
a. Clean the Air Gap:
- If your dishwasher has an air gap, check it for clogs. Clear any obstructions to ensure proper drainage.
b. Inspect the Pump and Drain Hose:
- Check the dishwasher’s pump and drain hose for obstructions. Remove any debris and ensure that the pump impeller can rotate freely.
Final Tips and Considerations for DIY Dishwasher Repair
- Safety First: Always prioritize safety when working on your dishwasher. Turn off the power, unplug it, and take proper precautions.
- Refer to the Manual: Your dishwasher’s user manual is a valuable resource for troubleshooting and repair instructions specific to your model.
- Use Quality Replacement Parts: When replacing components, opt for high-quality replacement parts to ensure the longevity and efficiency of your dishwasher.
- Take Your Time: Rushing through a repair can lead to mistakes. Take your time to disassemble and reassemble components carefully.
- Consider Professional Help: If you’re uncomfortable with any aspect of the repair or if the problem is complex, don’t hesitate to call a professional appliance repair technician.
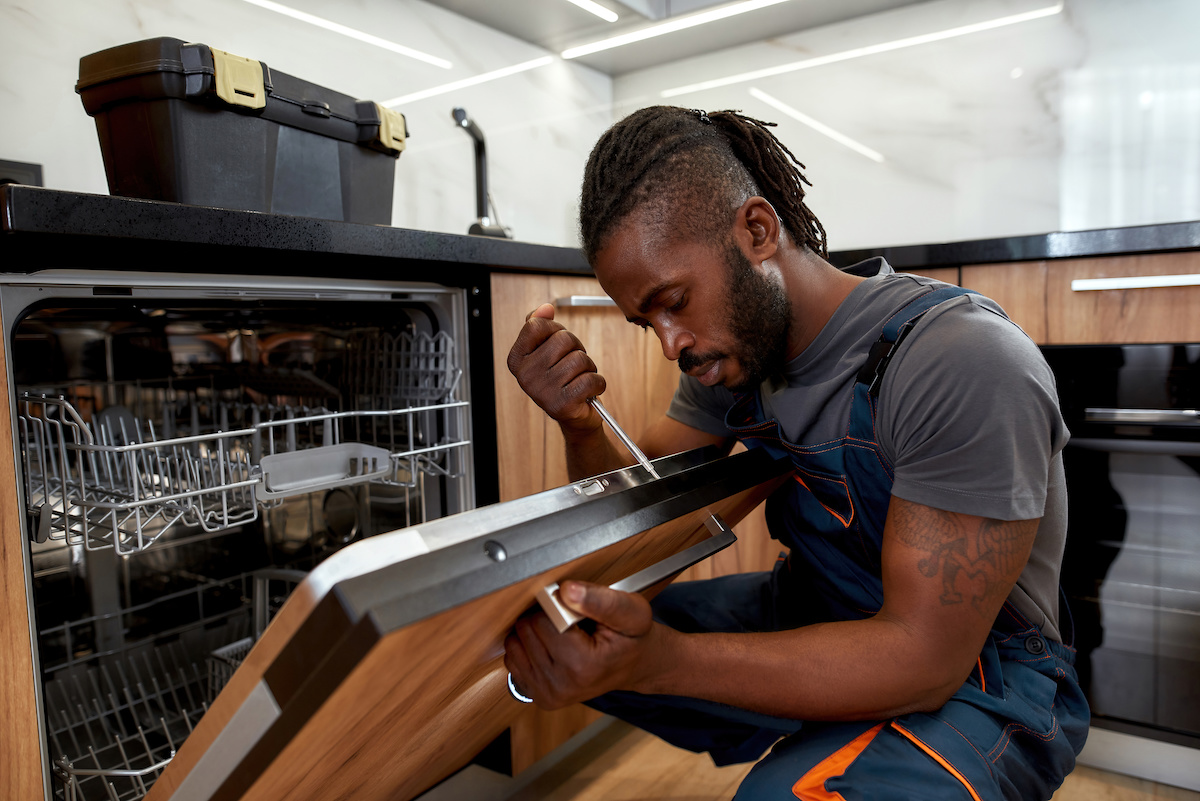
When to Call a Professional Instead of DIY Dishwasher Repair
Knowing when to call a professional, like the team at Atlanta Appliance Repair, for dishwasher repair is crucial to ensure your safety, prevent further damage, and save time and money in the long run.
Situations to Call a Professional:
- Lack of experience
- Complex or electrical problems
- Gas-powered dishwashers
- Warranty coverage
- Inaccessible or hard-to-reach components
- Water or gas leaks
- Unusual odors or smoke
- Repeated or unresolved issues
- Specialized parts or tools
- Safety concerns
Considering DIY Dishwasher Repair?
While DIY dishwasher repairs can be a cost-effective and satisfying way to address common issues, there are situations where it’s prudent to call a professional technician. If you lack experience, the problem is complex, involves electrical or gas components, or poses safety concerns, it’s best to leave the repair to experts who can efficiently and safely diagnose and resolve the issue.
If you’re searching for a professional appliance repair service, give our team at Atlanta Appliance Repair a call!

